Before heading out to shoot some arrows, there are a few things you’ll need to do when setting up a recurve or long bow. In this post we’ll discuss brace height, arrow shelf set up, and nock set. In this video I use a Werewolf ILF bow for demonstration but these techniques will work for all longbows, recurces or selfbows. Most bows will have a recommended brace height from the bowyer or bow manufacturer. This is the first consideration when deciding on a brace height but it’s not the only thing that you’ll need to think about. Bow noise, wrist contact, and arrow flight are other important reasons that you might need to raise or lower your bow’s brace height. Excessive bow noise, especially on a recurve, can be caused by a too low brace. Since the string comes in contact with the bows belly on a recurve, having the brace set to low causes the string to slap the bow’s belly creating noise. Wrist slap is another reason you may want to raise your brace height a little but be cautious here. This can also be caused by poor form.
You may also need to raise or lower your brace height during the tuning process. Raising the brace has the same effect as shooting a stiffer arrow (higher dynamic spine) while lowering the brace tends to weaken the dynamic spine. With that said, I like to set my brace height as low as I can without running into the aforementioned issues. A brace set higher than needed just reduces efficiency and robs speed. You’re basically reducing the power stroke and the bow’s ability to transfer stored energy to the arrow.
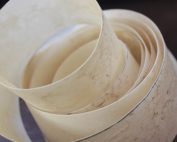
After setting the brace height, you’ll need to set up the arrow shelf. There are several options like elevated rests and spring style rests but, for sheer versatility in hunting, I find it best to shoot right off the shelf. In order to minimize the effects of bow torque during a shot I like to set my shelf up so that the arrow comes in contact with the bow as little as possible. To do this I glue a small piece of leather, tooth pick, or some other object onto the shelf to create a bump before gluing on my rest material. I’ll do the same thing on the side plate. These two small additions create a single point of contact where the arrow can pivot on the bow.
Finally, you’ll need to install a nock set. When setting up a new bow I’ll set the nock really high, like 3/4 inch. I do this because when I start the tuning process I want to know that I’ll get a nock high arrow flight. When tuning we’ll slowly move this down until we remove the nock high flight. Additionally, I like to use two nock sets. One above and one below the arrow nock. When you do this, you’ll want to leave a little bit of a space between the bottom of the arrow nock and the top of the lower nock set. Otherwise, the arrow nock will get pinched between the nock sets as the string angle changes during the draw. To accurately set your nock point, a bow square will come in very handy.
Don’t forget to check out my Patreon site. I’m posting a lot of exclusive content over there and you can sign up for about the cost of a happy meal!


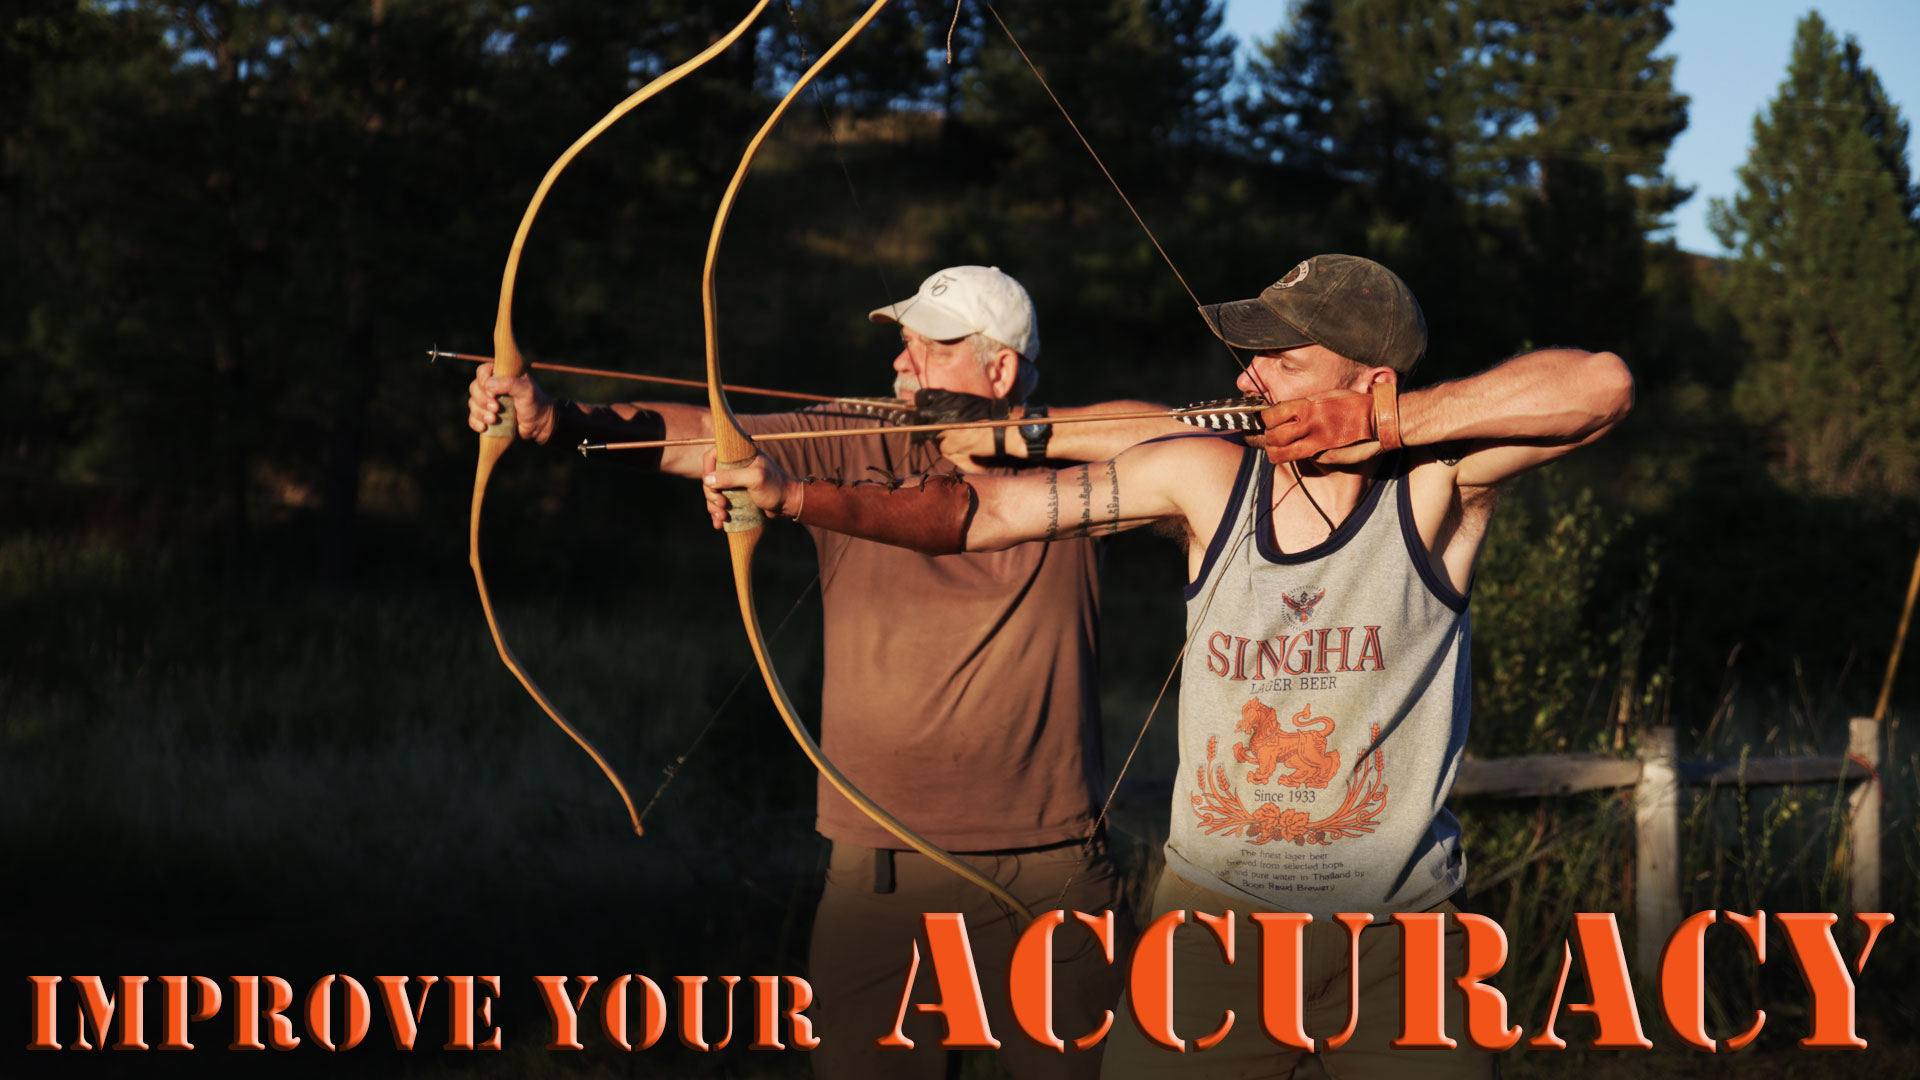
I have tried all the tuning tricks i can learn. I watch video after video on shooting techniques and i am still inconsistent. I have no idea why i can place 3 arrows on target nd the next ones are 12 inches off.
The best advice I can give is to focus on the process rather than the results. Focus on performing each step of the shot perfectly rather than where the arrow goes.